Getting Started
Getting Started with Feedlo

Welcome to Feedlo! 👋
Setting up your first changelog is a quick and rewarding process. This guide will walk you through creating your first feed, writing your first update, and getting it ready for the world. Let’s dive in.
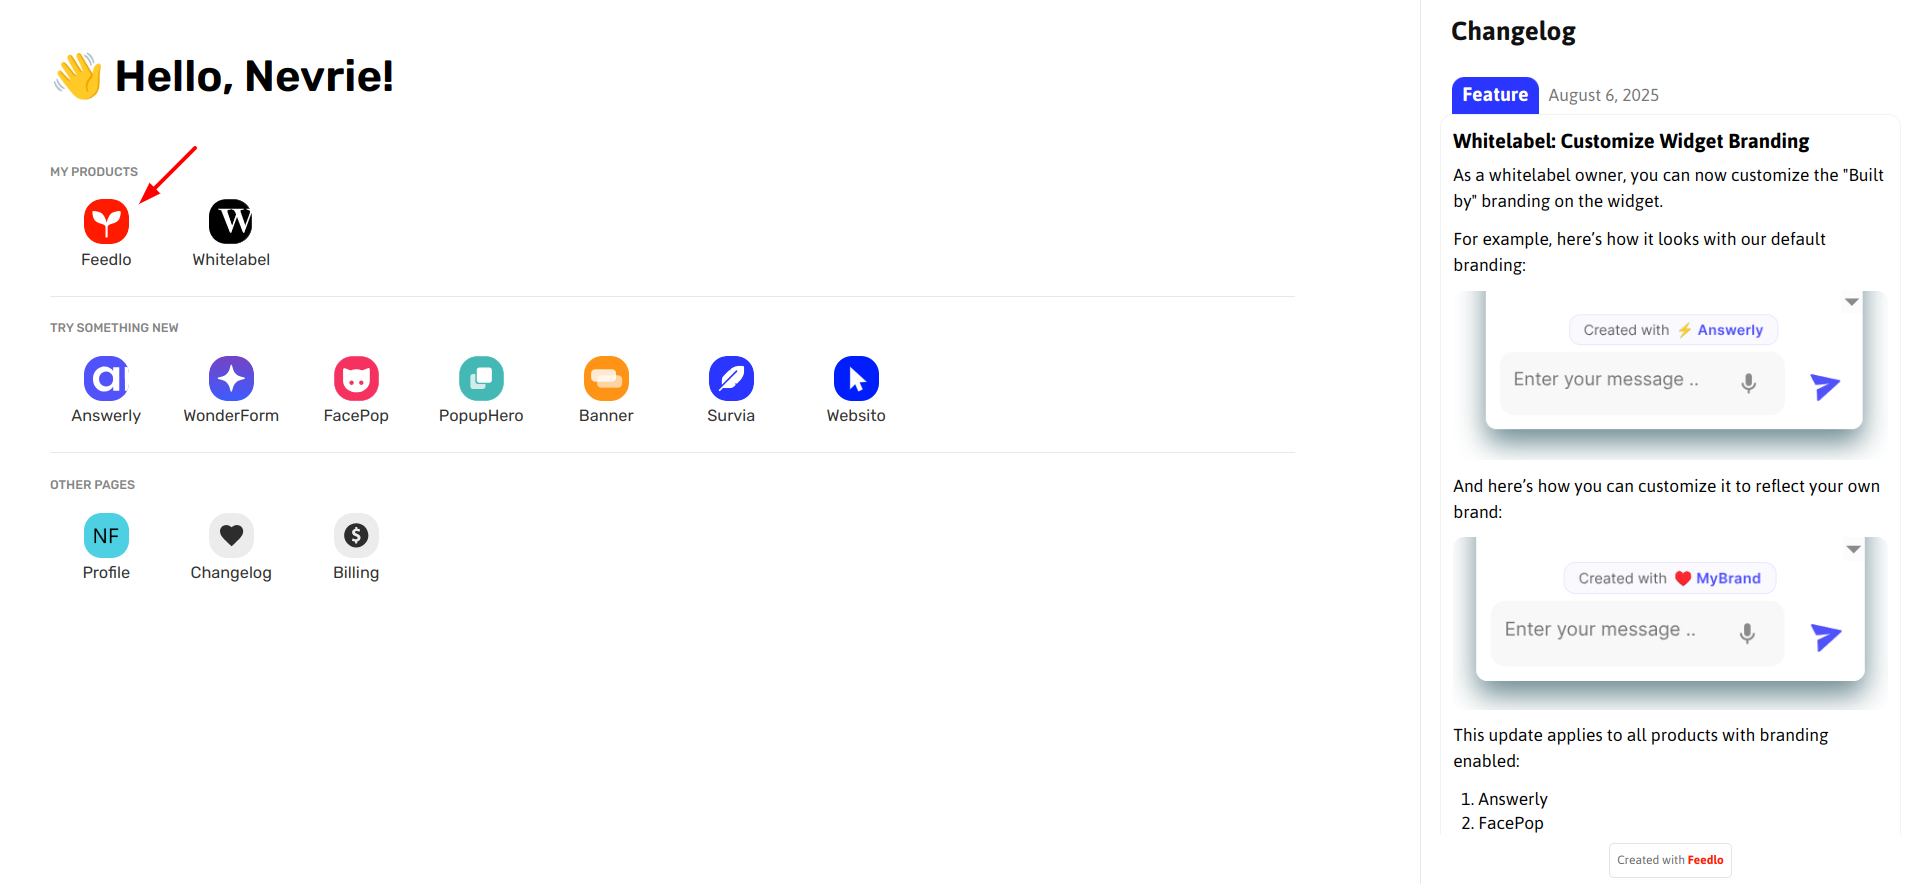
1. Jump into your dashboard
First things first, log in to your dashboard and pick Feedlo from your product list. This is your command center where you’ll manage all your feeds, pages, and settings.
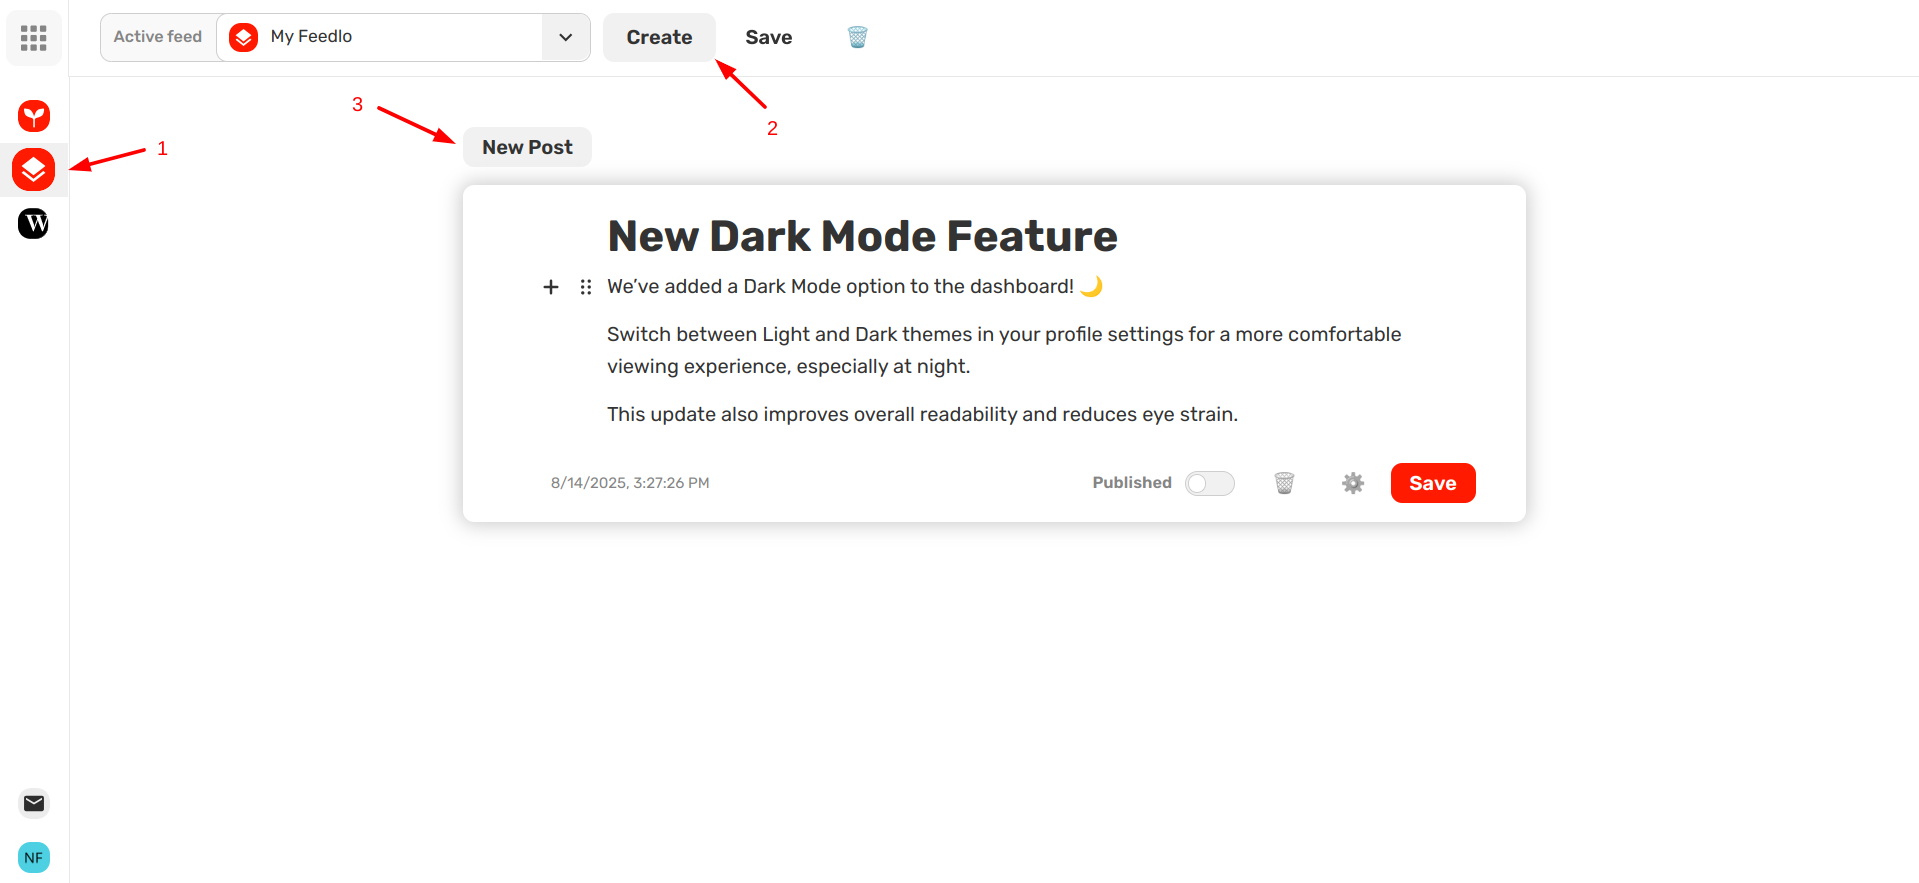
2. Create your first Feed and Post
A "Feed" is the internal home for your updates. To get started:
- Head over to Feed Editor.
- Click Create Feed to set up your new feed area.
- Once inside, click Create a Post to start writing. Give your update a catchy title and a clear description to keep your users in the loop.
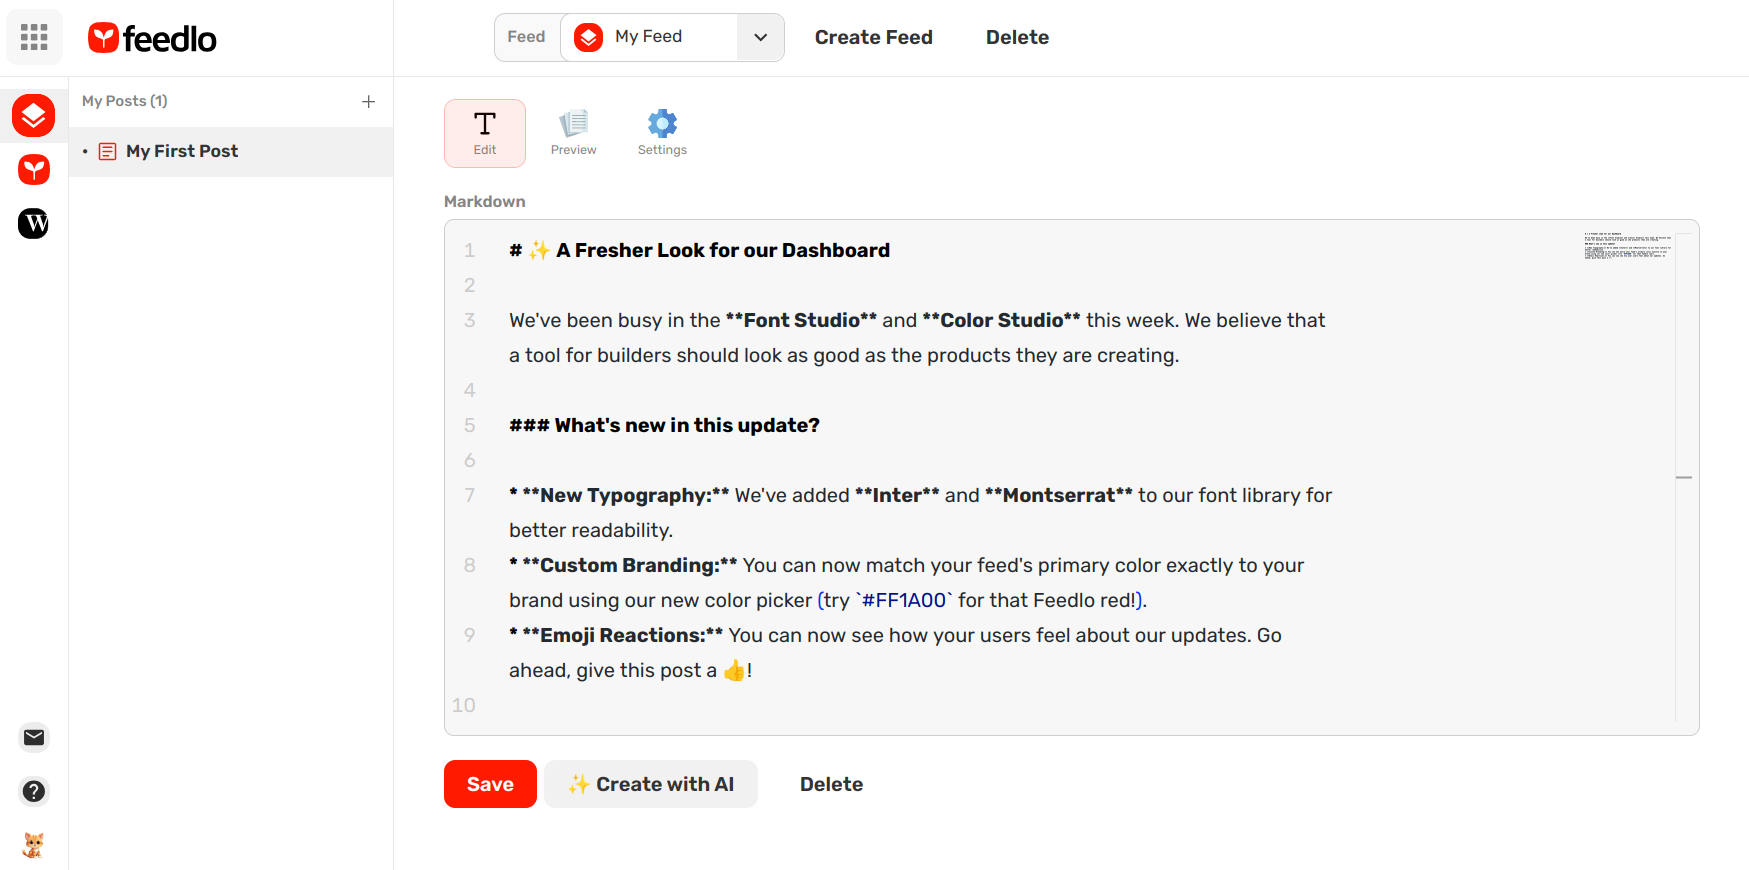
3. Write with the Slash (/) Command
This is where the magic happens. In the post editor, you don't need to hunt for formatting buttons.
- Type
/anywhere in the editor to open the quick-menu. - Choose your blocks: Instantly add Headings, Bullet Lists, Images, or Code Snippets without leaving your keyboard.
- Format as you go: Use the slash menu to make your update look professional.
Once you’re happy with your content, click Save. You can then hit Publish to make it ready for your public page.
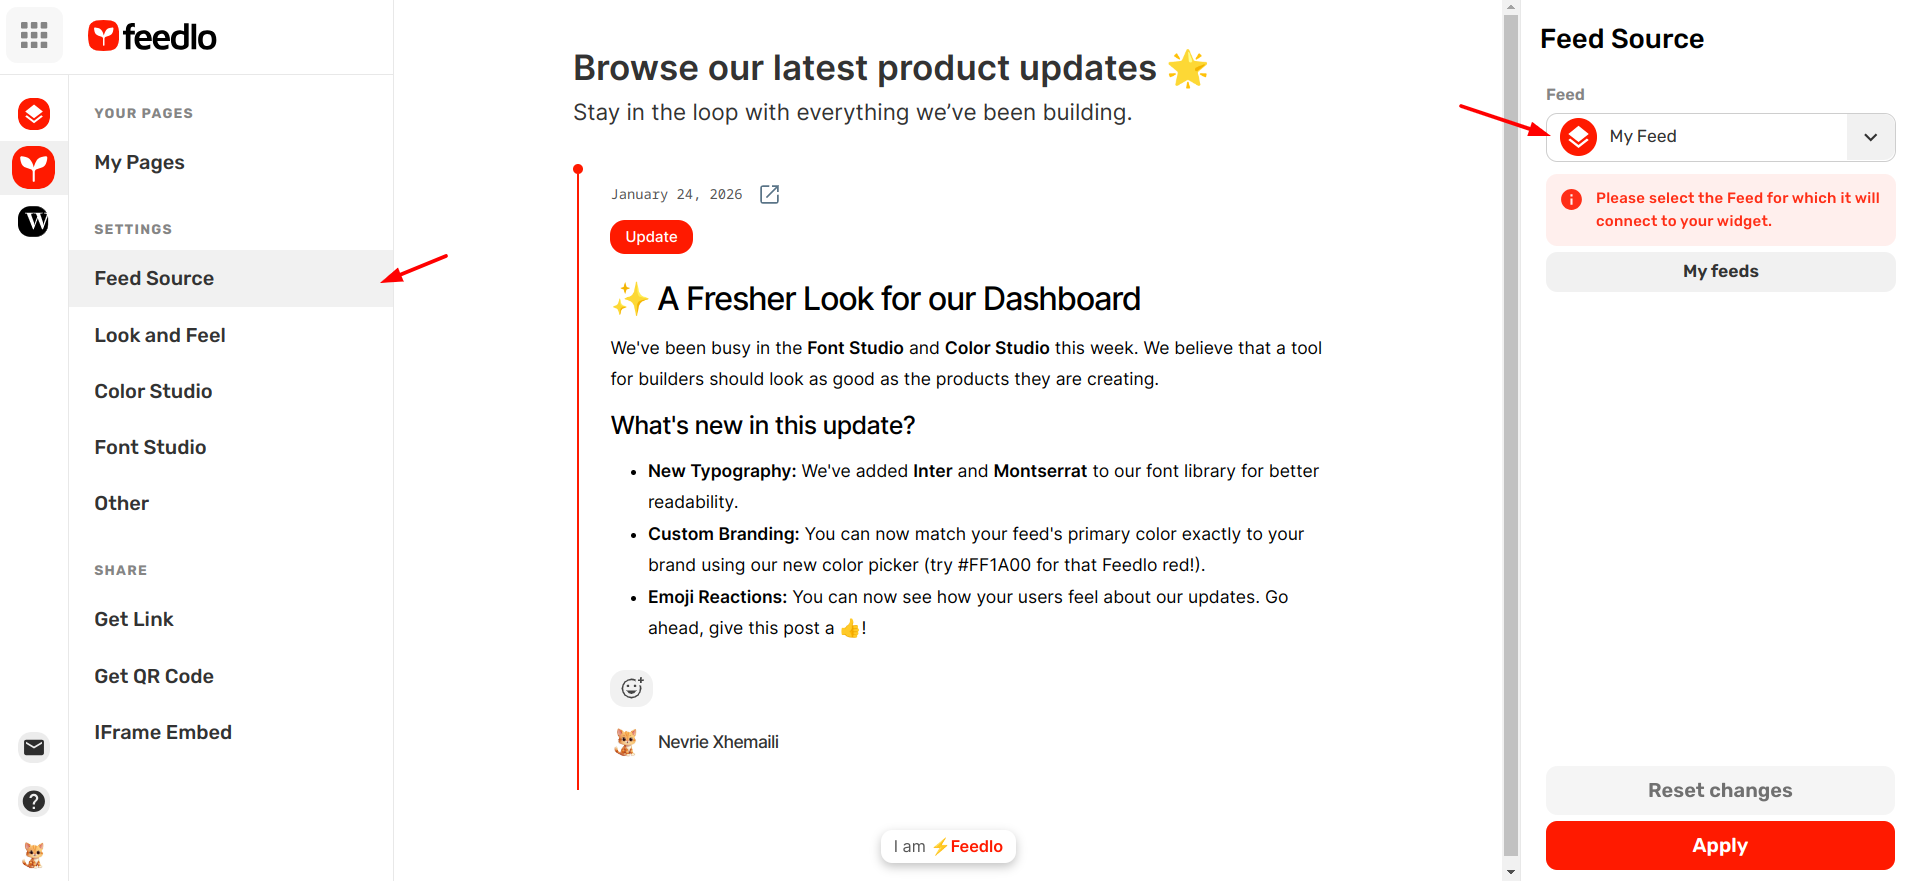
4. Create your Page and Link your Feed
Now that you have content, it’s time to show it off. In Feedlo, we use Pages to give your updates a beautiful, standalone home.
- Go to My Pages and click Create to set up your new Page.
- Once the page is created, you need to tell it which content to show. Navigate to the Feed Source section within your page settings.
- Select the feed you created earlier (e.g., "My Feed") as the primary source.
As soon as you link them, your published posts will instantly appear on your new page. From here, you can customize the design or jump into the Share & Embed settings to go live.
And just like that, your progress has a home! 🚀
Next, we’ll show you how to customize your page using the Look & Feel settings so your updates perfectly match your brand.