Customizing Feedlo
Setting up a Custom Domain

By default, every Feedlo Page comes with a unique public link like this:
https://feedlo.page/your-unique-id
To make your product journey feel like a native part of your brand, you can host your Page on your own custom domain, such as:
https://changelog.yourbrand.com
Here is how to set it up in a few minutes.
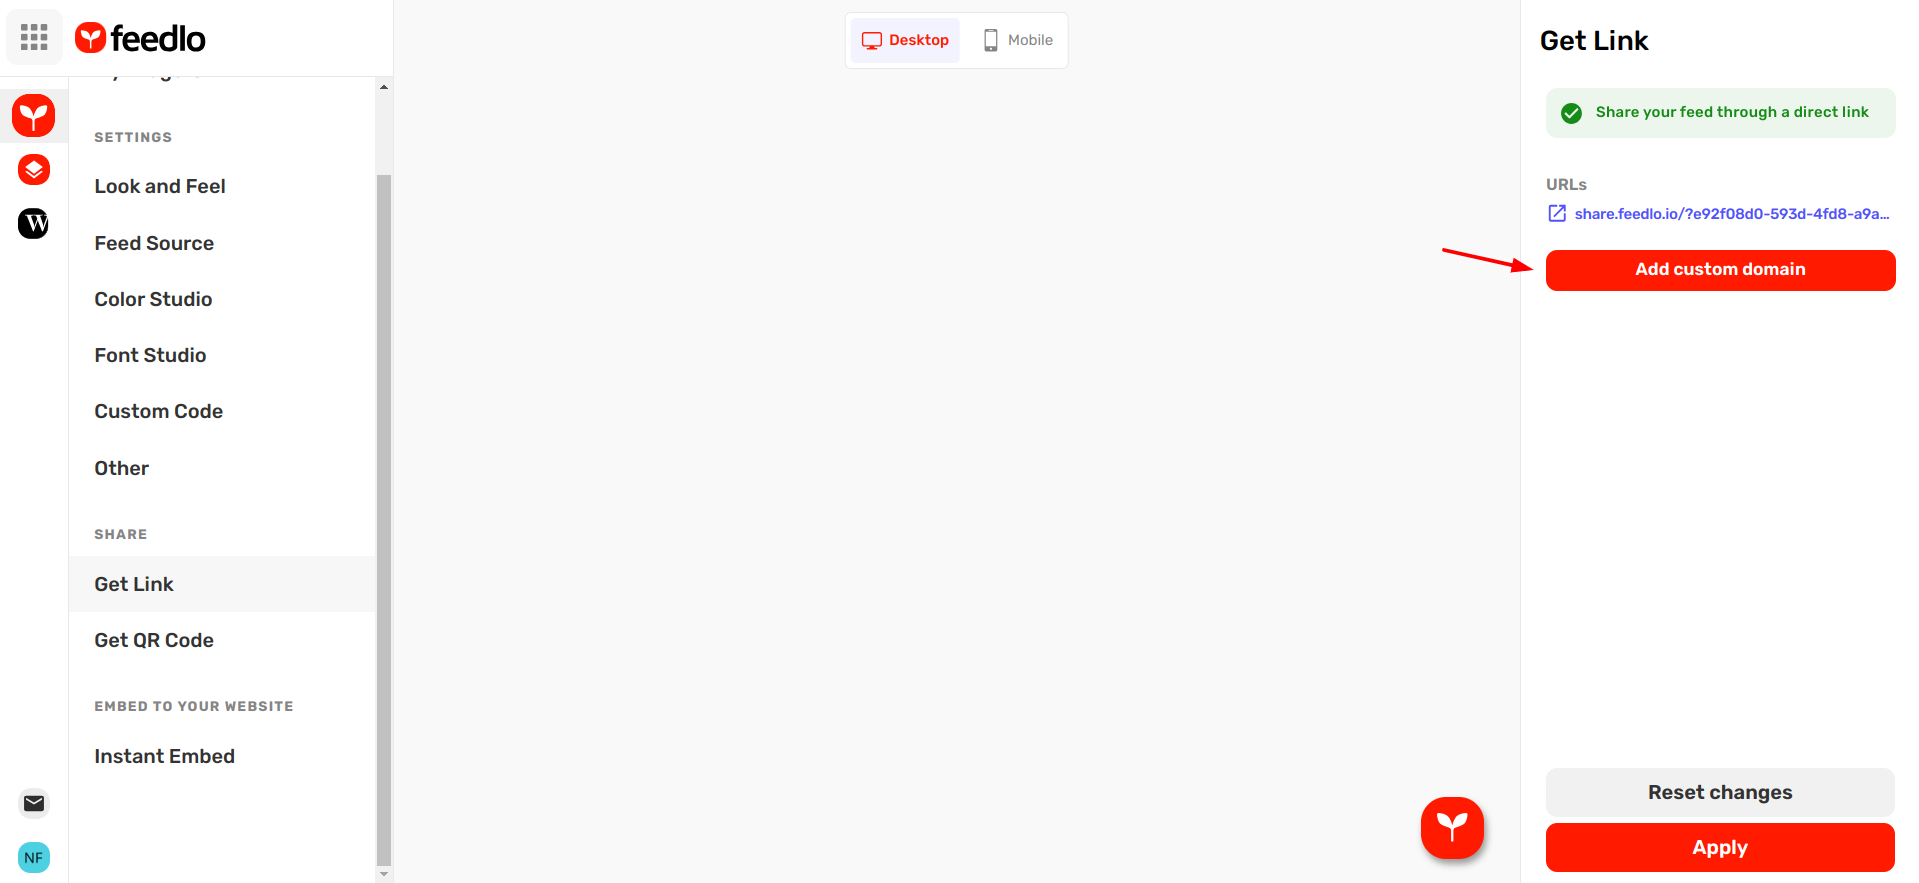
1. Open the Share settings
First, navigate to your Page settings and go to the Get Link page. Look for the Custom Domain section and click Add custom domain.
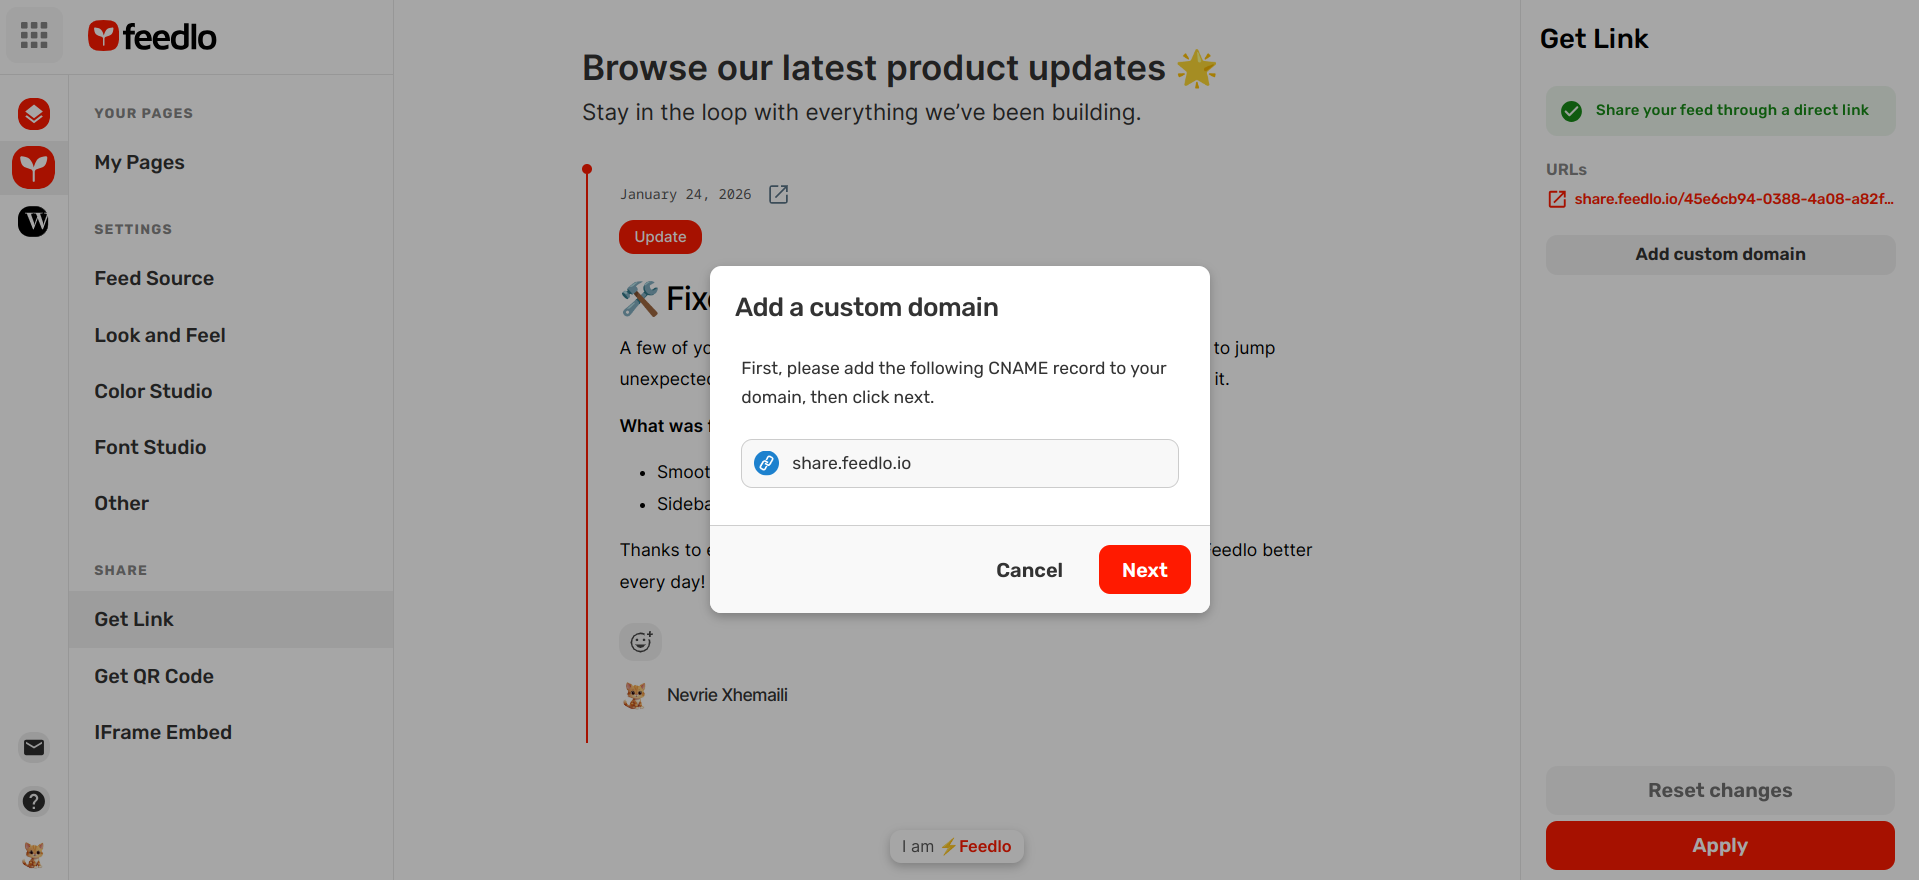
2. Add the CNAME Record
A modal will appear with the technical details you need for your DNS provider (like Cloudflare, Namecheap, or GoDaddy).
- Type: CNAME
- Name/Host: Use your desired subdomain (e.g.,
changelogorupdates). - Value/Target: Point it to
feedlo.page
Once you've added this record in your domain provider's dashboard, come back to Feedlo and click Next.
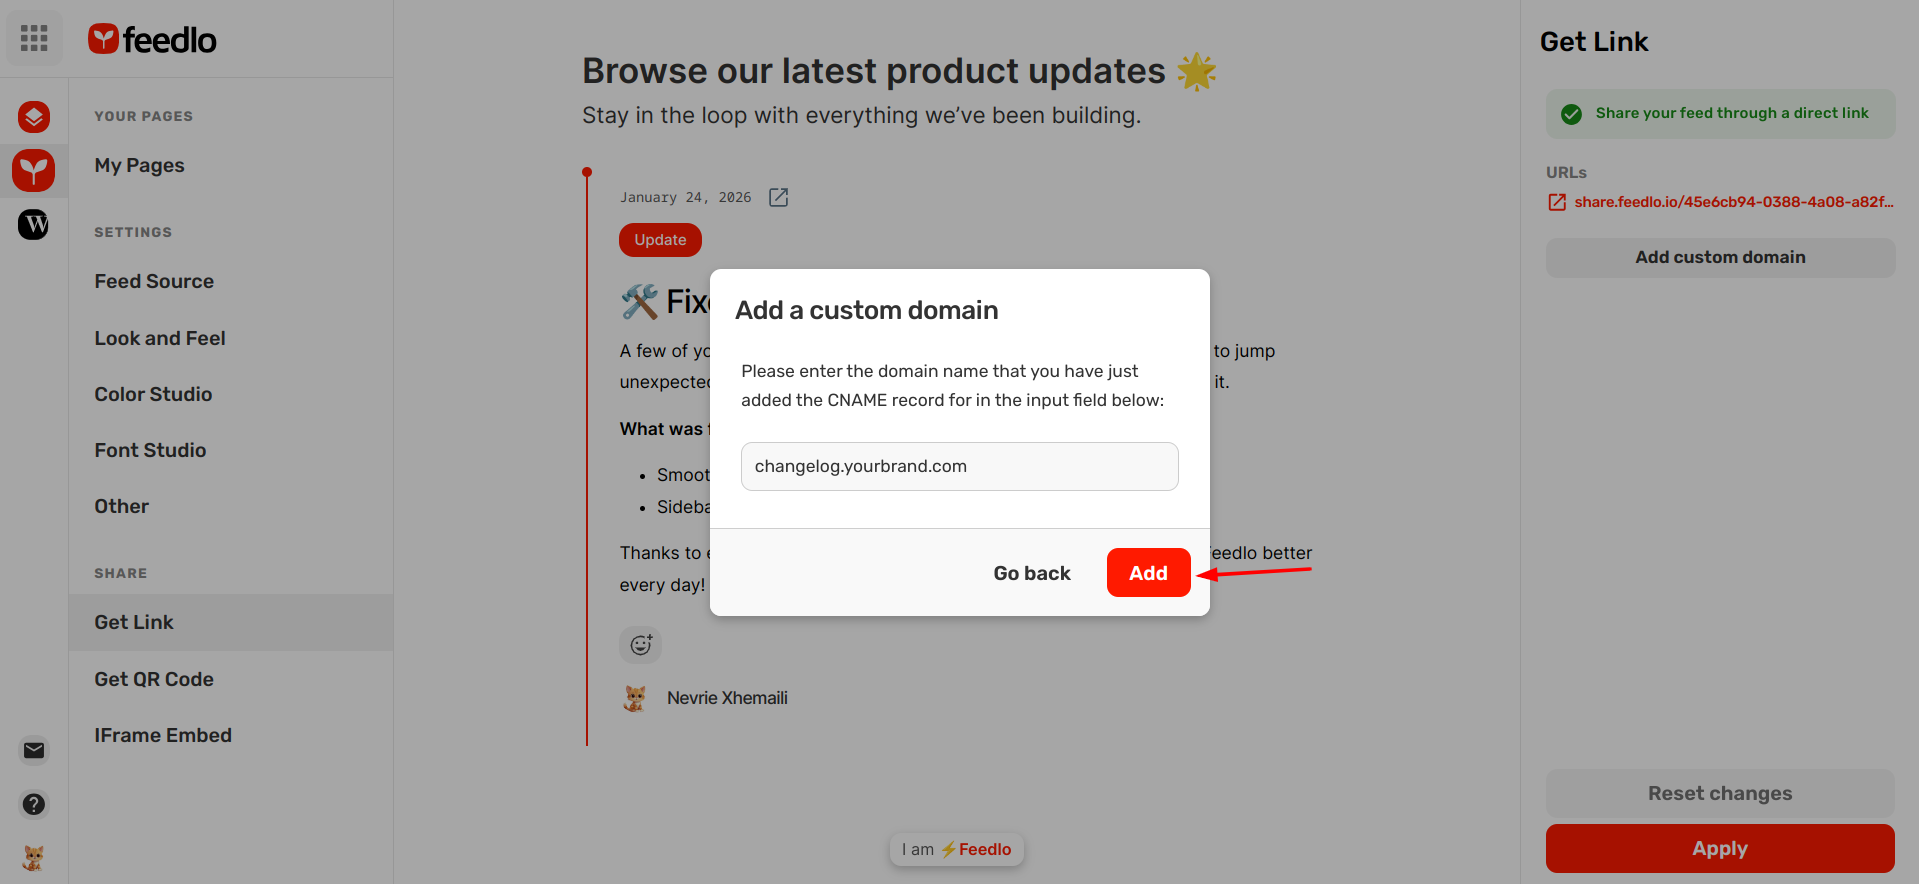
3. Enter your domain name
Now, simply enter the full URL you just configured in the input field.
- Example:
changelog.yourbrand.com - Click Add Domain.
4. Verification and SSL
Feedlo will automatically verify your connection and issue an SSL certificate so your page is secure (HTTPS). This usually happens within a few minutes, but it can occasionally take a bit longer depending on your DNS provider.
Troubleshooting Tips
- Wait for propagation: DNS changes can take anywhere from a few minutes to a few hours to "spread" across the internet. If it doesn't work immediately, give it a little time.
- Proxied Records: If you are using Cloudflare, make sure your CNAME record is set to "DNS Only" (the gray cloud) during the initial setup so we can verify the connection.
- Double-check typos: Ensure the subdomain you entered in Feedlo matches exactly what you typed into your DNS settings.
Using a custom domain is the best way to build trust and keep your users within your ecosystem while they catch up on your progress. 🚀